Want an easy way to categorize and filter your events in Sugar Calendar? With the Tags feature, you can label events by type, topic, or any other category. This can be helpful when displaying events on your site.
In this tutorial, you’ll learn how to create, assign, and manage tags for your events.
In This Article
Before getting started, make sure the Sugar Calendar plugin is installed and activated on your WordPress site.
Accessing Event Tags
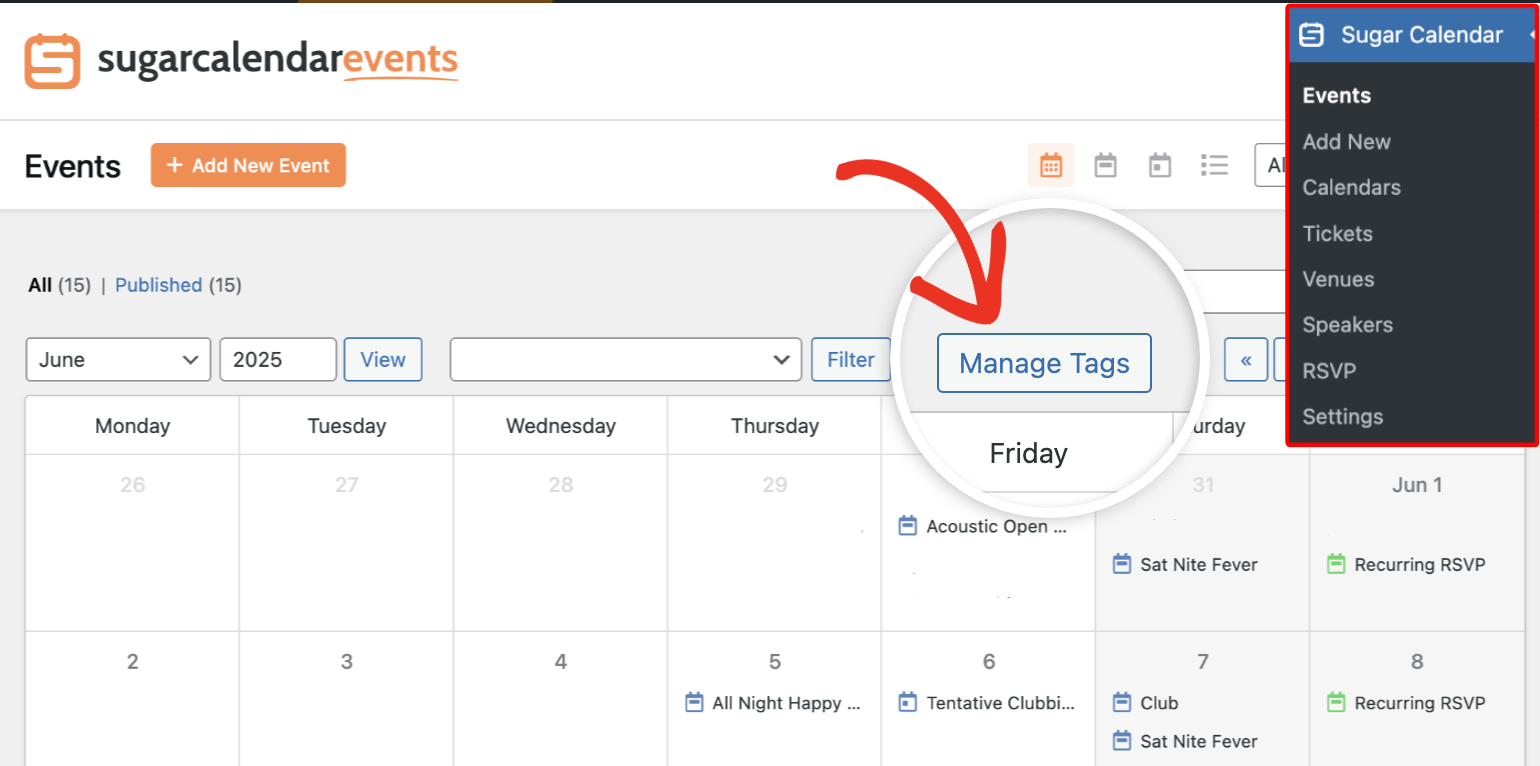
To get started with tags, go to Sugar Calendar » Events in your WordPress admin area. Then click the Manage Tags button at the top of the calendar view.

This will open the Tags screen, where you can add, edit, and delete tags.
Creating a New Tag
To add a tag, click the Add New Tag button.

In the Add New Tag page, you’ll first need to specify the Tag name.

After that, enter a small description for the tag in the Description field.

Note: The Slug is automatically generated and matches the Tag name you used. So you don’t need to specify one when creating a tag
Once you’ve filled out the tag details, click the Add New Tag button to save it.

Editing a Tag
To update an existing tag, hover over its name in the tag list and click Edit.

You’ll be directed to the Edit Tag screen where you can modify the name, slug, or description. Click Update Tag to save your changes.

Assigning Tags to Events
Tags can be assigned directly from the Event Editor. When creating an event or editing an existing one, locate the Tags section in the sidebar.

You can select one or more existing tags from the dropdown.

Be sure to save your changes after updating your event. The tags you assign to an event will appear on your event’s archive page and can be used for filtering.
Viewing Tagged Events on Your Site
Each tag has its archive page where users can see all events associated with that tag.
To access the archive page, navigate to the Tags dashboard and then hover over the tag you’d like to preview and select View.

This will direct you to the frontend display of the tag. You’ll see all events associated to the specific tag you’re viewing.

When using the Event List or Events Calendar blocks to display events on your site, you can use tags to filter the events you’d like to show.
Deleting a Tag
To remove a tag, go to Sugar Calendar » Events » Manage Tags, then hover over the tag and click Delete.
Note: Deleting a tag will permanently remove it from your site. This action cannot be undone.

You’ll be prompted to confirm your action. Click the OK button to proceed.

To delete multiple tags, check the option to select all tags and click the Bulk Actions dropdown.

Then select Delete from the dropdown options and click Apply.

Deleted tags will no longer be available to assign to events, and any previously tagged events will lose the tag association.
That’s it! You’ve now learned how to use tags to organize your Sugar Calendar events.
Next, would you like to allow users to submit events on your website? Check our guide on allowing frontend event submissions to learn how.
